How to Upscale Midjourney Image Online in 2025?


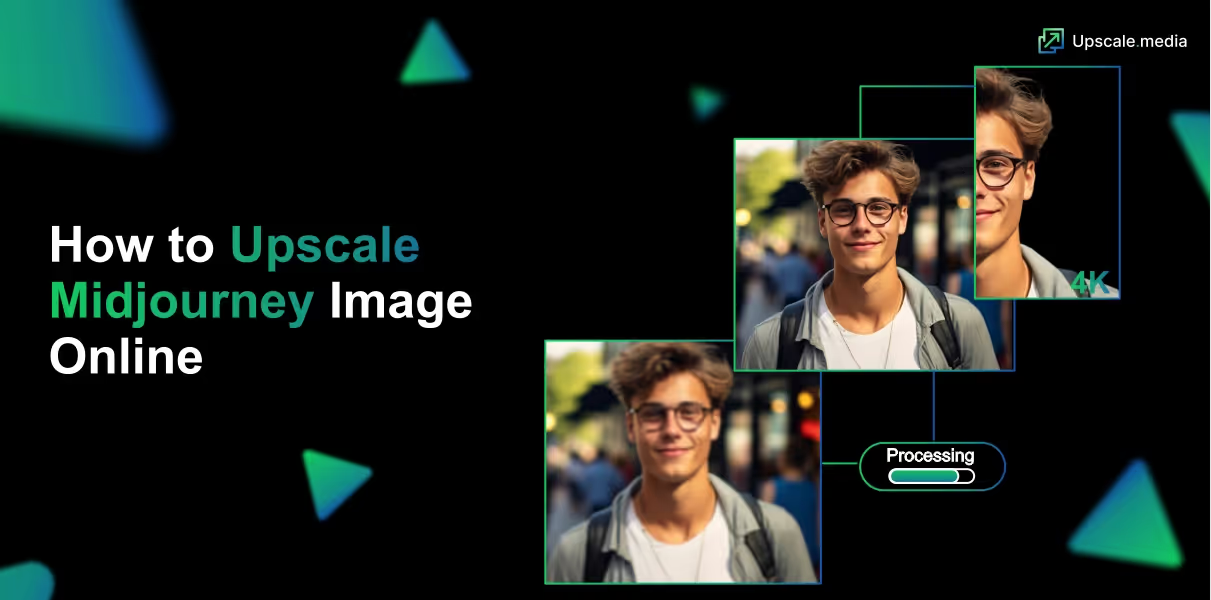
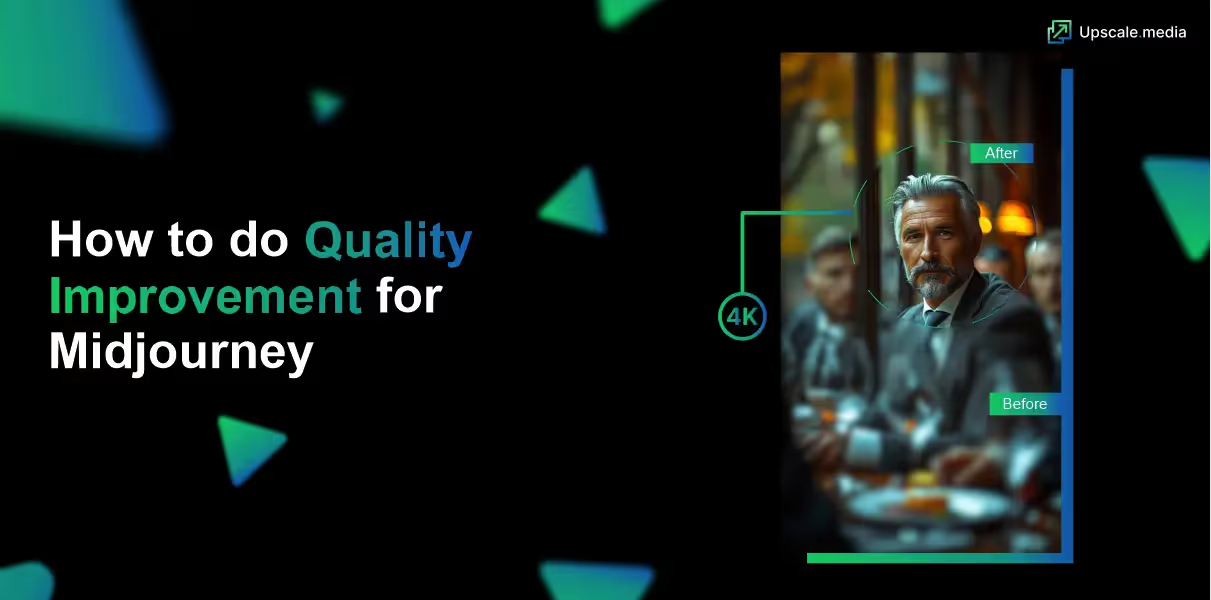
Are you ready to elevate your Midjourney creations to stunning new heights? With the rapid evolution of AI-generated art, achieving exceptional quality in your Midjourney images is more crucial than ever. Enter the world of Upscale Midjourney image, where cutting-edge technology meets artistic brilliance to transform your visuals into high-definition masterpieces.
Imagine being able to take your already impressive Midjourney artwork and enhance its resolution and detail effortlessly. Upscale Midjourney images offers an innovative solution to upscale Midjourney images, providing clarity and precision that truly make your artwork stand out. Whether you're a digital artist looking to fine-tune your creations or a business needing high-quality visuals for promotional purposes, this tool ensures your images retain their visual integrity while achieving remarkable quality enhancements.
With Upscale Midjourney image, you’re not just improving image resolution; you’re unlocking the potential to showcase your art in the best light possible. Dive into a seamless experience where your Midjourney visuals are refined to perfection, making them ready for any platform or print with unparalleled clarity.
What are Midjourney Images?
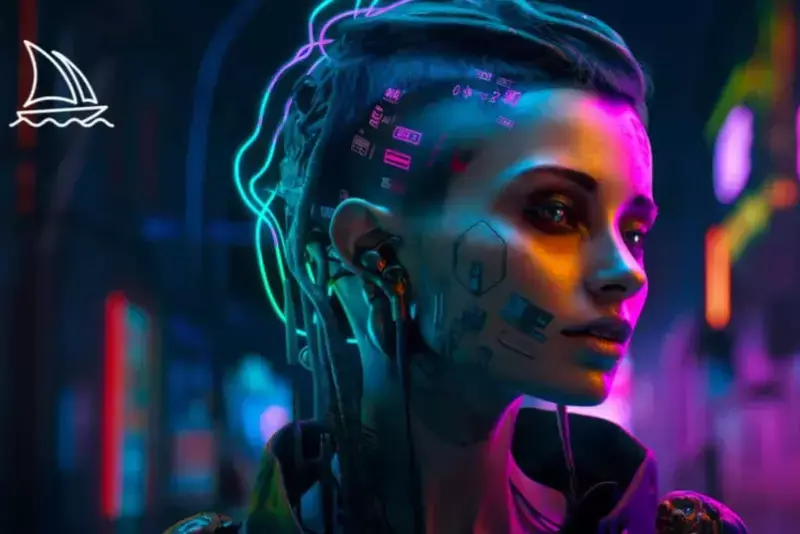
Midjourney images refer to digital artworks created using the Midjourney AI platform, known for its advanced capabilities in generating highly detailed and visually striking visuals. This AI-driven tool harnesses machine learning algorithms to transform textual prompts into unique and intricate images, often resembling elaborate digital art or creative visual representations.
Midjourney excels in producing a wide range of artistic styles, from surreal landscapes to abstract compositions. It is a popular choice for artists and designers seeking innovative ways to visualize their ideas. These images often require enhancement to achieve the highest quality, especially when used for professional or high-resolution applications. By upscaling Midjourney images, users can improve resolution and clarity, ensuring their artwork maintains its exceptional quality across various platforms and formats.
What Is AI Upscaling?
AI upscaling is a technology that uses artificial intelligence to enhance the resolution and quality of digital images. Unlike traditional upscaling methods that merely enlarge pixels, AI upscaling employs advanced algorithms and machine learning models to analyze and interpret image data. The AI then reconstructs and adds new details, improving clarity and sharpness while minimizing distortions and artifacts.
This process involves training the AI on vast datasets of high-resolution images. Hence, it learns how to predict and generate fine details that are not present in the original image. The result is a significantly enhanced image that retains its visual integrity and appears more detailed and refined, even at larger sizes. AI upscaling is commonly used in various applications, including digital art, photography, and media production, to achieve superior image quality and resolution.
Why is Image Upscaling Important?
Image upscaling enhances resolution and clarity using advanced technology. Essential for achieving sharp, detailed visuals in various formats, it improves quality for print, digital media, and professional presentations. By employing AI algorithms, upscaling ensures your images maintain their visual integrity, making them more impactful and engaging.
- Enhanced Visual Quality: Upscaling improves image resolution, making it clearer and more detailed. This is especially important for print media, marketing materials, and high-resolution displays where sharp, clear visuals are essential.
- Professional Presentation: High-quality images are vital for a professional appearance. Upscaling ensures that images used in presentations, websites, and portfolios look polished and well-defined, enhancing overall credibility and impact.
- Adaptability for Various Formats: Upscaling allows images to be adapted for different sizes and formats without losing quality. This is beneficial for resizing images for banners, advertisements, or large prints while maintaining their visual appeal.
- Preservation of Detail: Advanced upscaling technologies, especially those using AI, preserve and even enhance fine details that might be lost in traditional enlargement methods. This results in more accurate and vibrant images.
- Improved User Experience: High-resolution images contribute to a better user experience, whether on websites, social media, or mobile applications, where clear and engaging visuals capture attention and retain interest.
Overall, image upscaling is vital for achieving high-quality visuals across various media and applications, ensuring images look their best in any context.
How to Create High-Res Images on Midjourney?
Creating high-resolution images on Midjourney is essential for achieving stunning visual clarity and detail. Midjourney, known for its powerful AI-driven art generation, allows users to produce captivating images, but mastering the art of generating high-res outputs requires a few key strategies.
By understanding and utilizing the platform's features effectively, you can enhance the quality of your creations. From adjusting settings to optimizing prompts, there are several techniques you can employ to ensure your images come out crisp and professional. This guide will walk you through the steps to create high-res images on Midjourney, maximizing the potential of this innovative tool.
Step 1: Sign Up for Discord
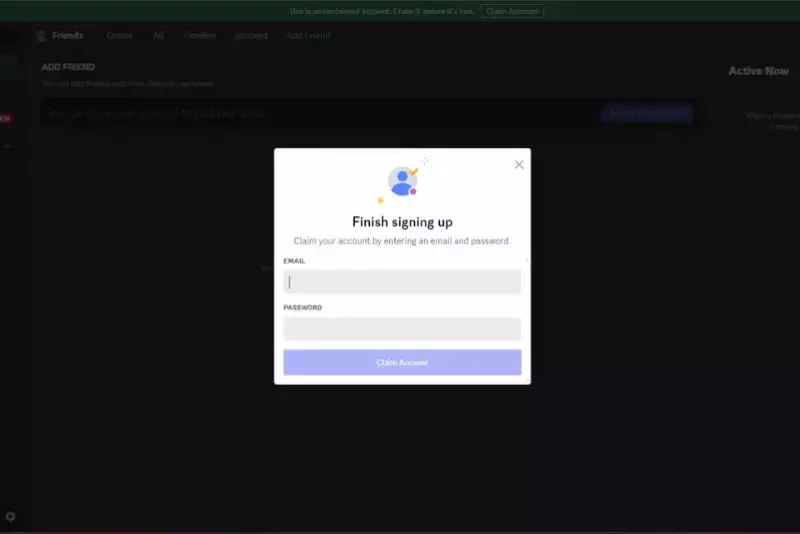
- What to do: Before anything else, create a Discord account. Discord is a free platform where you can chat through text or voice.
- Why it's easy: Signing up is quick, straightforward, and doesn't cost anything.
Step 2: Join Midjourney Beta
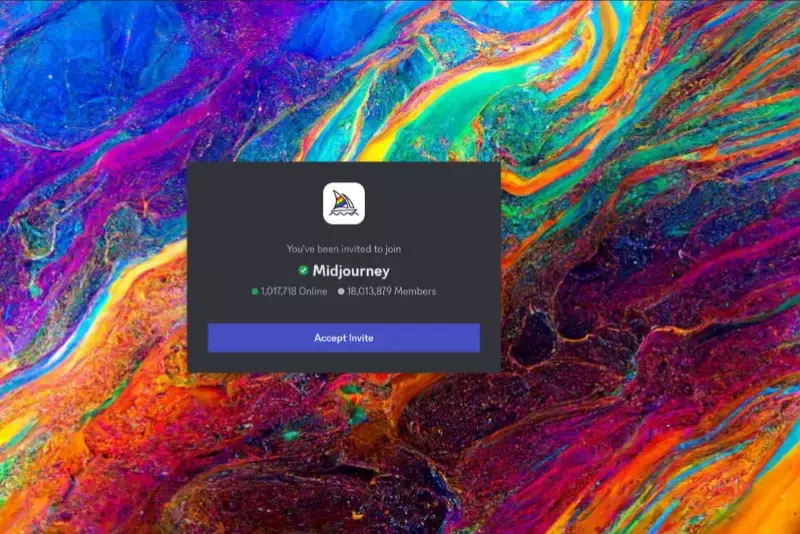
- What to do: With your Discord account ready, open your web browser and go to the Midjourney website. Look for a button or link that says "Join the Beta" and click on it. This action will take you to Discord to accept an invitation and sign into your Discord account.
- Why it's easy: It’s just clicking through to get everything set up.
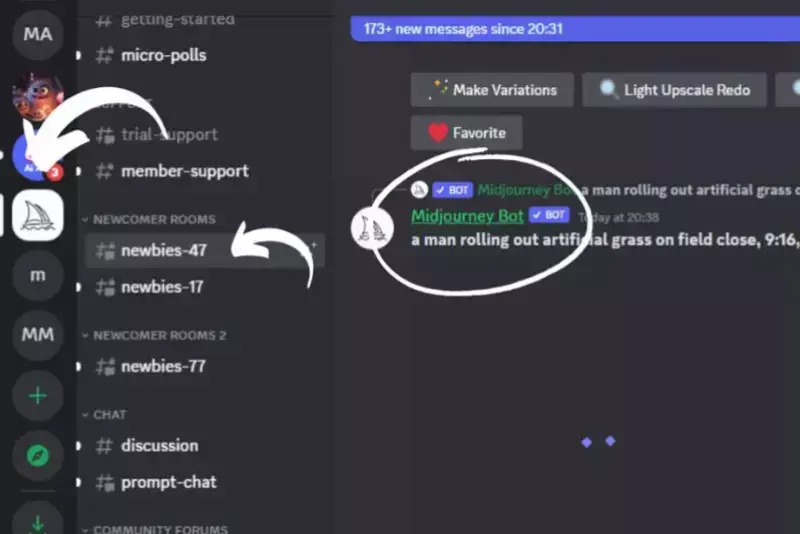
Step 3: Find the Midjourney Server
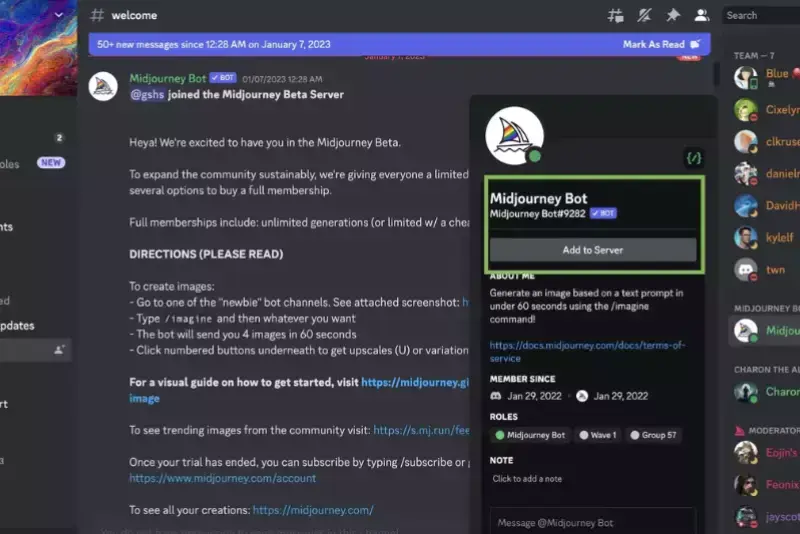
- What to do: Once in Discord, look for the Midjourney symbol, which looks like a white ship, on the left side of your screen. Seeing this symbol means you've successfully joined the Midjourney server.
- Why it's easy: It's like adding a friend on your favorite social media platform.
Step 4: Access Midjourney on Discord
- What to do: Open a new browser tab and go to the Midjourney Discord link (https://discord.gg/midjourney).
- Why it's easy: This is just like visiting any website.
Step 5: Start Creating
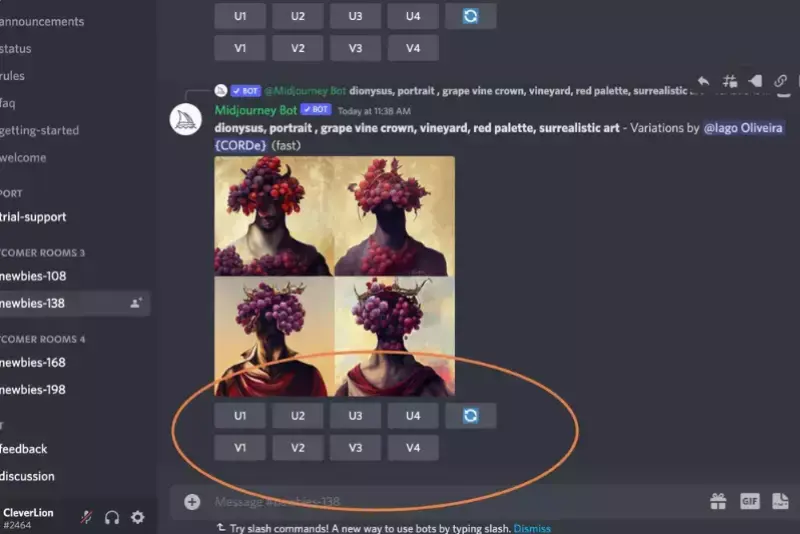
- What to do: In the Midjourney Discord, pick a room for newcomers. Once there, type /imagine followed by the keywords for your desired image, like "dragons" or "nature." You can ask for specific styles, like 4K or hyper-realistic images.
- Why it's easy: It’s as simple as typing a message.
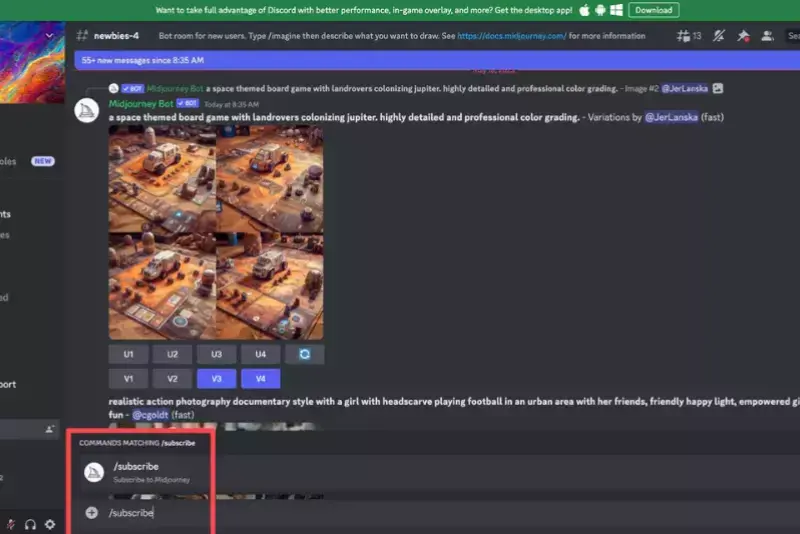
Step 6: Customize Your Request
- What to do: Use --v 4 if you want to use Midjourney’s version 4 for better quality. Adjust the aspect ratio by typing --2:3, 1:1, or 3:2, depending on your need.
- Why it's easy: It’s like choosing your phone’s camera app settings.
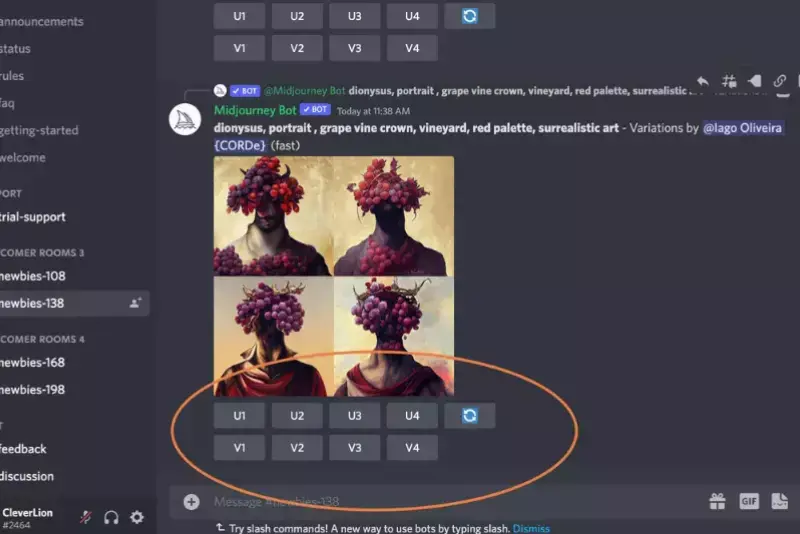
Step 7: Generate Your Image
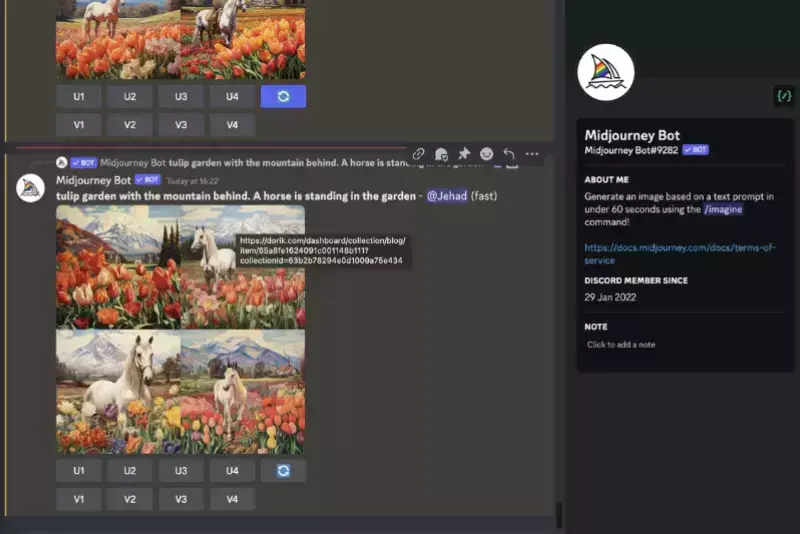
- What to do: Press Enter to submit your request. Then, choose a version of the generated image you'd like to upscale and create up to 25 variations.
- Why it's easy: With a simple command, Midjourney does all the work, and you get to enjoy a variety of beautiful images.
How to Upscale Midjourney Images in 1 Click
Enhancing the quality of your Midjourney images has always been challenging with Upscale.media. This powerful online tool allows you to upscale Midjourney images in just one click, transforming them into high-resolution masterpieces. Whether you're looking to improve the clarity, detail, or overall appearance of your visuals, Upscale.media offers a seamless and efficient solution.
Simply upload your image file in any common format and let the advanced algorithms work their magic. Perfect for designers, photographers, and digital artists, this tool ensures your images always look their best, making it an essential part of your creative toolkit.
Step 1: Visit Upscale.media
First, open your web browser and go to Upscale.media. This is where you'll start the magic of upscaling your images.
Step 2: Upload Your Image
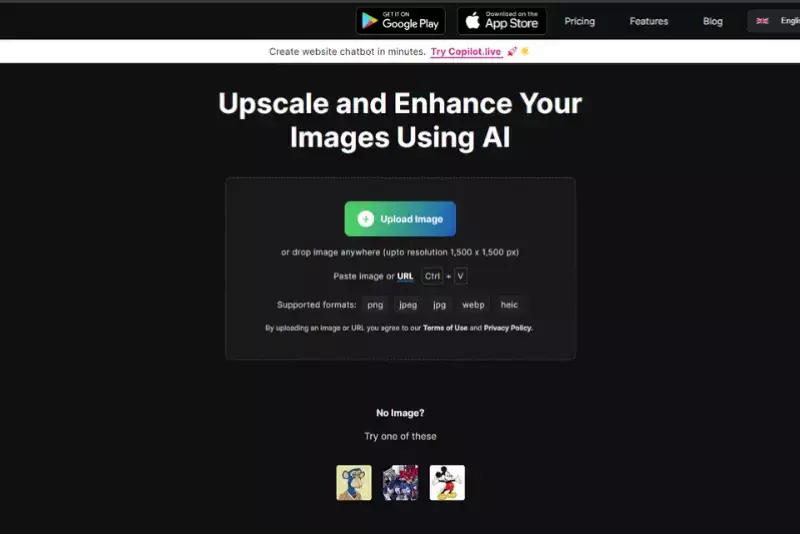
Once you're on Upscale.media, look for a button that says "Select File" or something similar. Click on it to find the Midjourney image you want to upscale from your computer folders. You can also drag and drop your image directly onto the page, which is pretty cool and quick.
Step 3: Choose Your Upscale Size

After uploading your image, you can choose how much you want to upscale it. You can double the size with 2X or go even bigger with 4X. Just pick the option that suits what you need.
Step 4: Preview Your Image
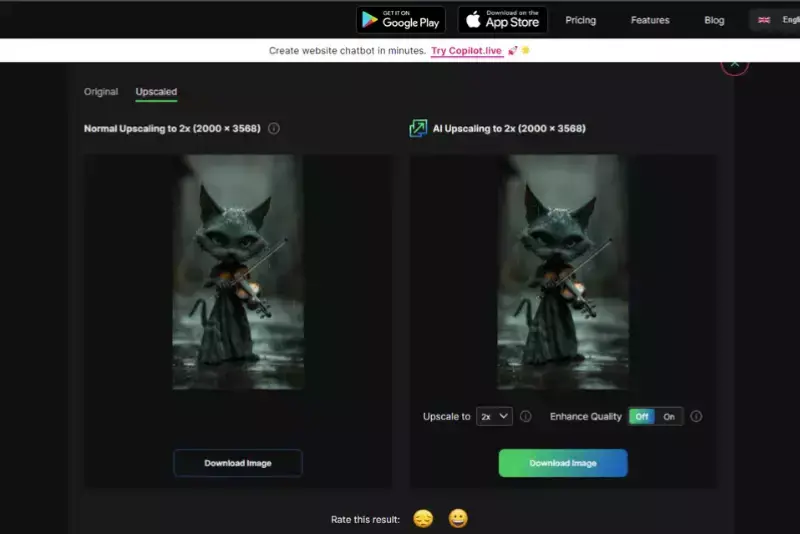
Hit the button to upscale your image. Wait a moment, and then you can see a preview of your upscaled image. This lets you check out how great it looks after the transformation.
Step 5: Download Your Upscaled Image
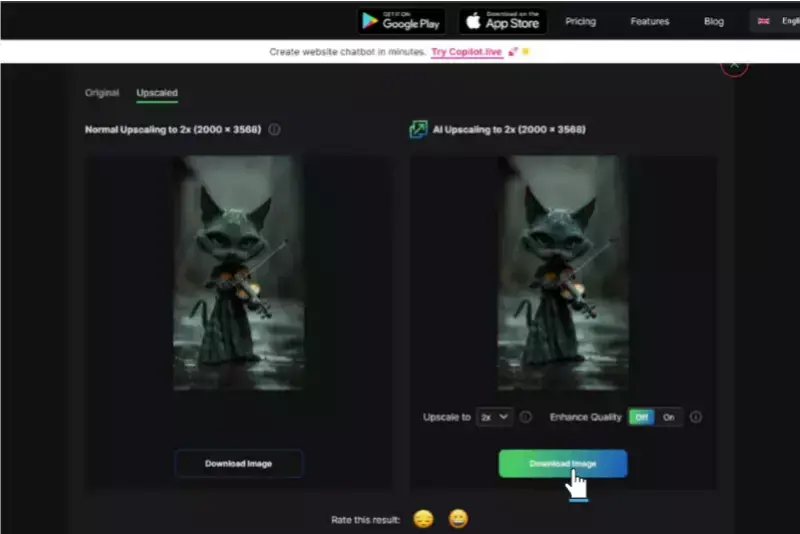
Are you happy with the preview? Awesome! You can download the upscaled image to your device with just a click. Save it and use it wherever you need, all crisp and clear.
Benefits of Upscaling Midjourney Images
Upscaling Midjourney images brings a host of benefits, transforming your digital art into high-definition masterpieces. By enhancing resolution, you reveal intricate details and textures that elevate the overall clarity and sharpness of your visuals. This is crucial for professional applications, such as prints, marketing materials, and high-resolution displays, where image quality is paramount.
Additionally, upscaled images maintain their visual appeal across various formats and sizes, making them versatile for diverse uses. AI-driven upscaling ensures that your artwork's original artistic integrity and creativity are preserved, offering a refined and impactful presentation that captivates viewers.
- Improved Detail and Clarity: Enhanced resolution reveals finer details and textures, making your images look sharper and more defined.
- Professional Quality: High-quality upscaled images are ideal for professional use, including prints, marketing materials, and high-resolution displays.
- Versatile Use: Upscaled images maintain their quality across various formats and sizes, making them suitable for diverse applications such as presentations, websites, and social media.
- Enhanced Visual Appeal: Increased clarity and detail boost the overall visual impact, making your artwork more engaging and visually appealing.
- Preservation of Artistic Integrity: AI upscaling techniques preserve the original artistic elements and style of Midjourney images, ensuring that the enhanced visuals retain their unique character and creativity.
- Better Adaptation to Large Formats: Upscaled images are perfect for large prints or high-resolution screens, where maintaining image quality is crucial.
Top 10 Tools to Upscale Midjourney Images
As digital artistry and creative projects continue to gain prominence, having the right tools to enhance and refine your visuals is essential. Upscaling Midjourney images, a process that involves elevating the resolution and clarity of your AI-generated artwork, ensures that your creations maintain their quality across various formats and uses.
By leveraging advanced upscaling tools, you can achieve sharper details and more vibrant visuals, making your artwork stand out in both digital and print applications. Below, we explore ten top tools designed to midjourney upscale and upscale Midjourney images effectively, helping you maximize the impact of your AI-generated visuals.
Upscale.media
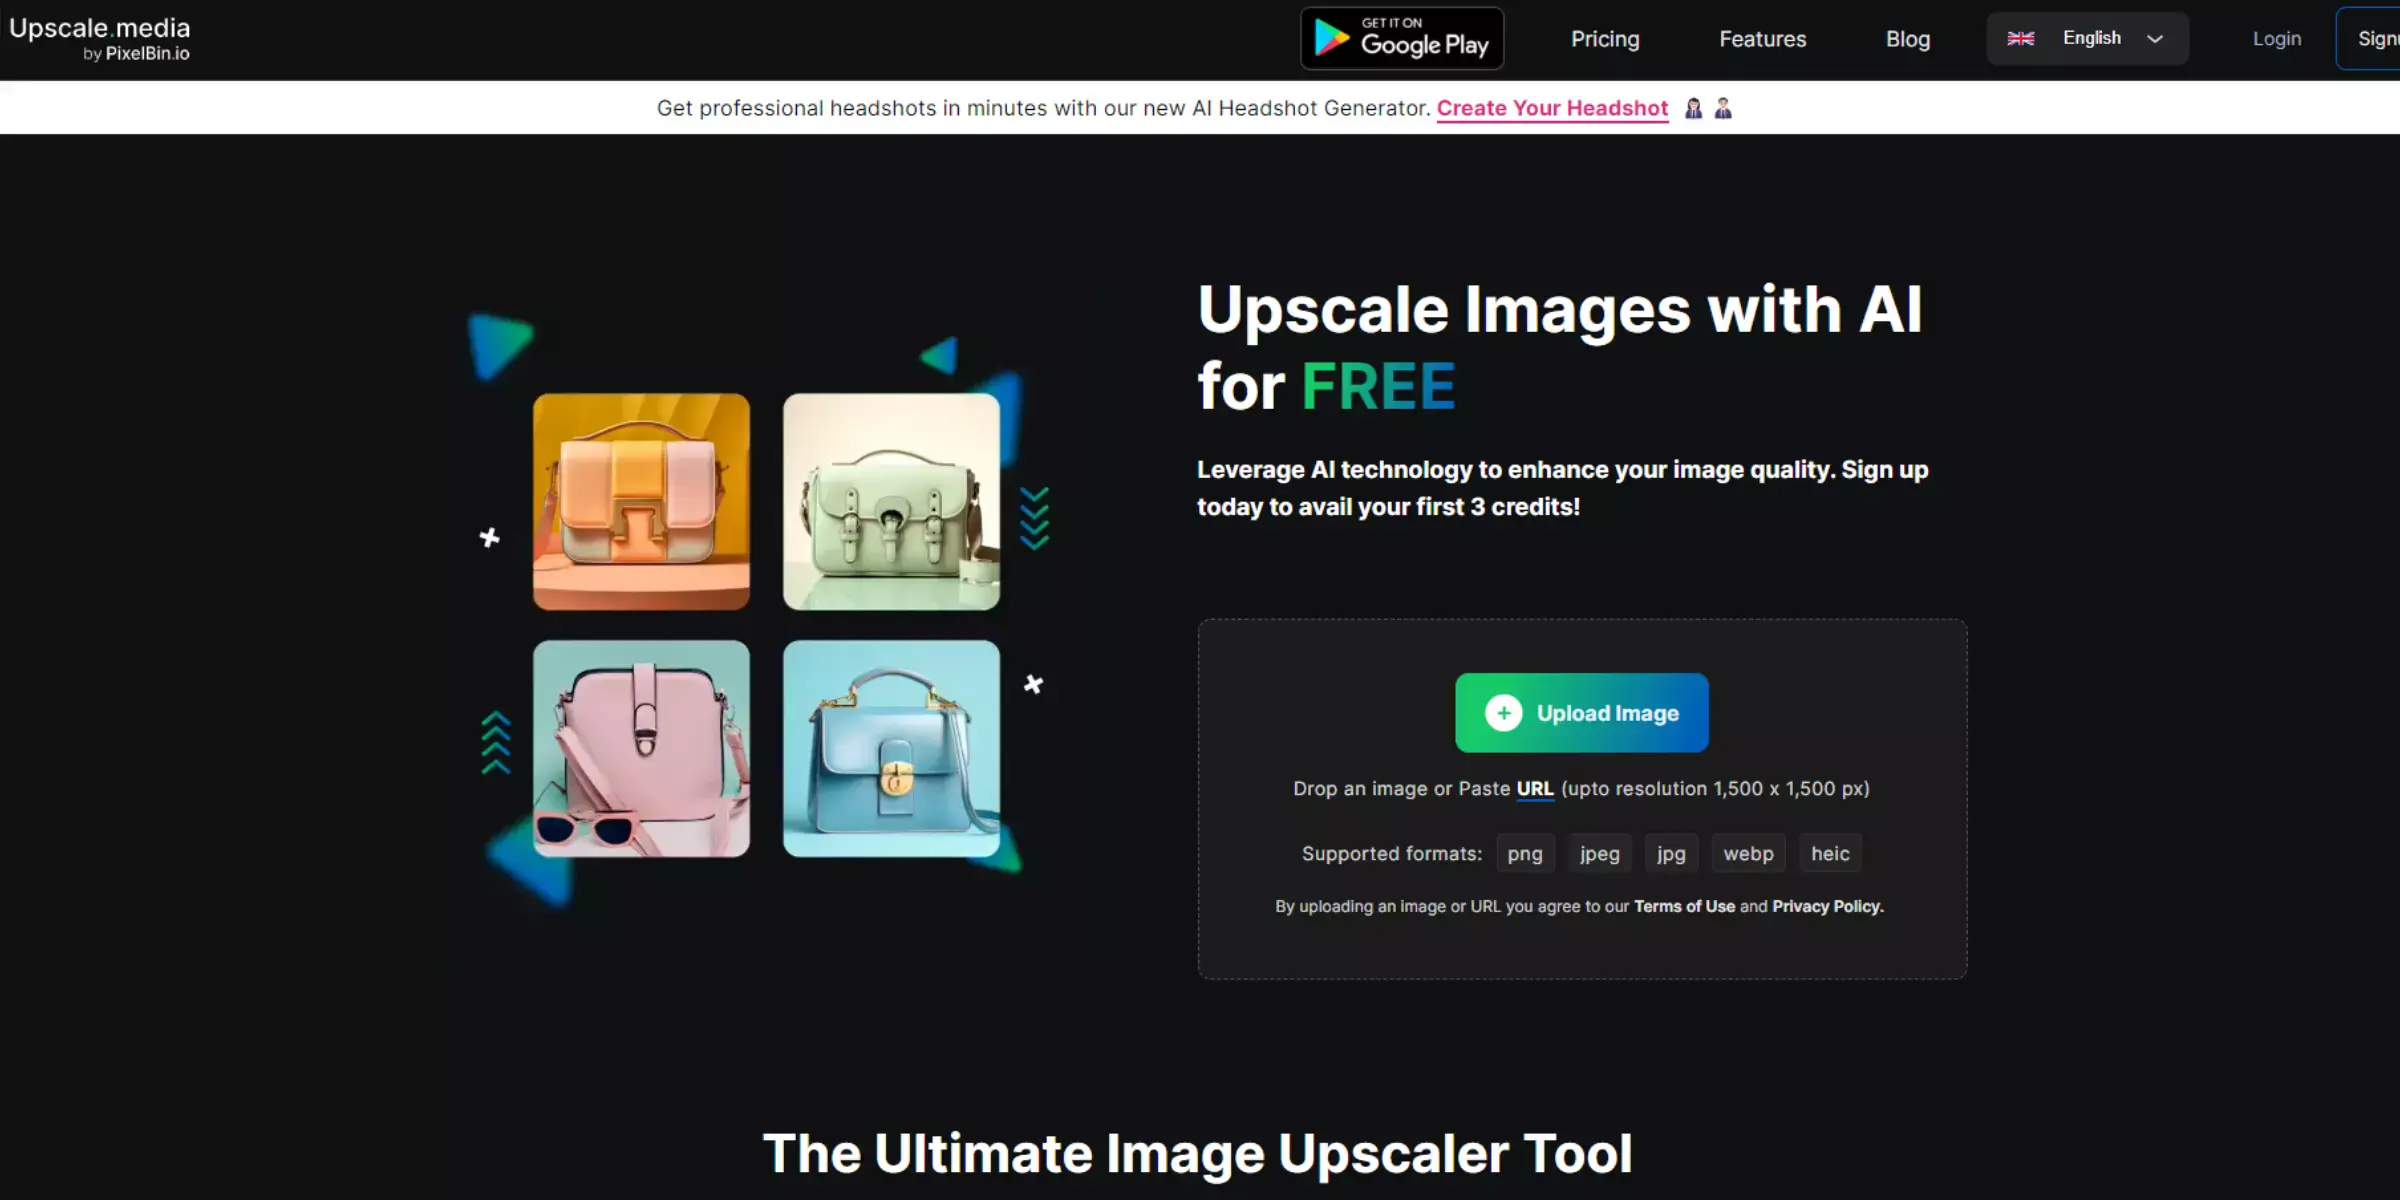
Upscale.media offers an exceptional solution for upscaling Midjourney images, enhancing their resolution and clarity with advanced AI technology. This tool is designed to elevate the quality of your AI-generated artwork, providing sharper details and vibrant visuals ideal for various applications.
Whether you need high-definition prints or polished digital presentations, Upscale.media ensures that your images maintain their artistic integrity while being transformed into stunning high-resolution masterpieces. By leveraging its sophisticated algorithms, Upscale.media simplifies the process of improving your Midjourney visuals, making it a top choice for both professional and personal use.
Features:
- Advanced AI algorithms for precise image enhancement
- High-resolution upscaling up to 4x the original size
- User-friendly interface with drag-and-drop functionality
- Supports multiple image formats, including PNG, JPEG, and HEIC
- Fast processing with minimal quality loss
Let's Enhance
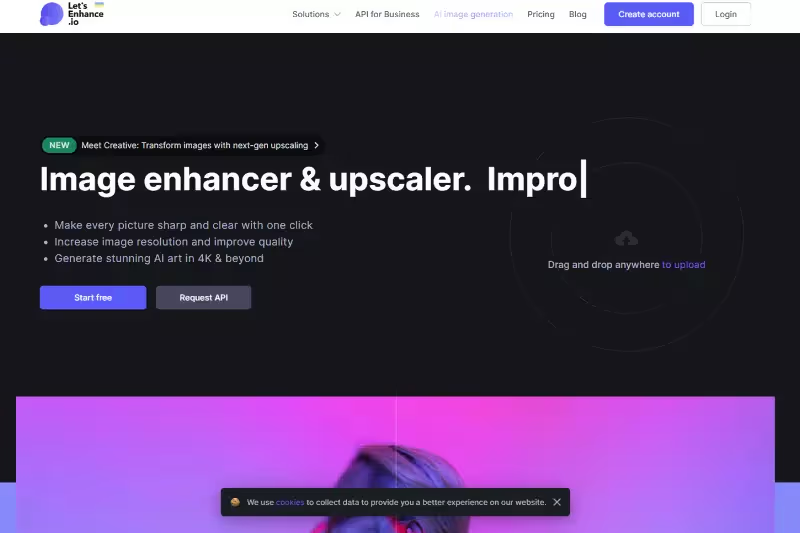
Let's Enhance is a powerful tool for upscaling Midjourney images to 4K, providing a boost in resolution and detail with its advanced AI technology. This platform is designed to transform your AI-generated visuals into stunning high-definition masterpieces, perfect for both digital displays and print media.
By utilizing sophisticated algorithms, Let's Enhance ensures that your images retain their clarity and sharpness, even when scaled up significantly. With a user-friendly interface and efficient processing, it’s an ideal choice for artists and professionals looking to elevate their Midjourney images to superior 4K quality effortlessly.
Features:
- AI-powered technology for upscaling images to 4K resolution
- Enhances details and sharpness while preserving quality
- Easy-to-use interface for quick and efficient processing
- Supports a variety of image formats, including PNG and JPEG
- Fast and reliable performance with minimal quality degradation
DeepAI Image Upscaler
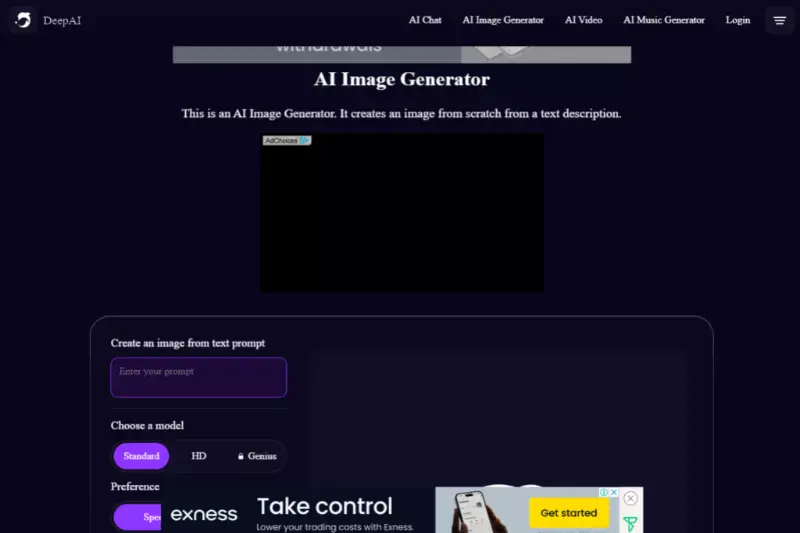
DeepAI Image Upscaler is a robust tool for Midjourney upscale, utilizing advanced deep learning algorithms to enhance image resolution and clarity. This tool excels in transforming your AI-generated visuals into high-quality, detailed images suitable for various applications.
With its focus on maintaining the integrity of the original artwork, DeepAI ensures that even significant enlargements retain sharpness and precision. Ideal for both professional and personal projects, this upscaling solution provides an efficient and effective way to elevate your Midjourney images to a superior level of quality.
Features:
- Advanced deep learning algorithms for precise image upscaling
- Enhances image resolution while preserving fine details
- Simple and intuitive interface for easy use
- Compatible with various image formats, including PNG and JPEG
- Efficient processing with high-quality output results
BigJPG
BigJPG offers a specialized solution for upscaling Midjourney images, delivering high-quality enhancements through its advanced AI technology. Designed to handle image enlargement with minimal quality loss, BigJPG ensures that your AI-generated visuals are transformed into crisp, detailed, high-resolution images.
Its user-friendly interface makes the upscaling process straightforward and accessible, whether for digital use or print. By focusing on reducing artifacts and preserving the essence of your artwork, BigJPG provides an effective way to elevate your Midjourney images while maintaining their original charm and clarity.
Features:
- Advanced AI technology for high-quality image upscaling
- Minimises quality loss and reduces artifacts
- User-friendly interface for easy operation
- Supports various image formats, including PNG and JPEG
- Preserves original details and clarity in enlarged images
Waifu2x
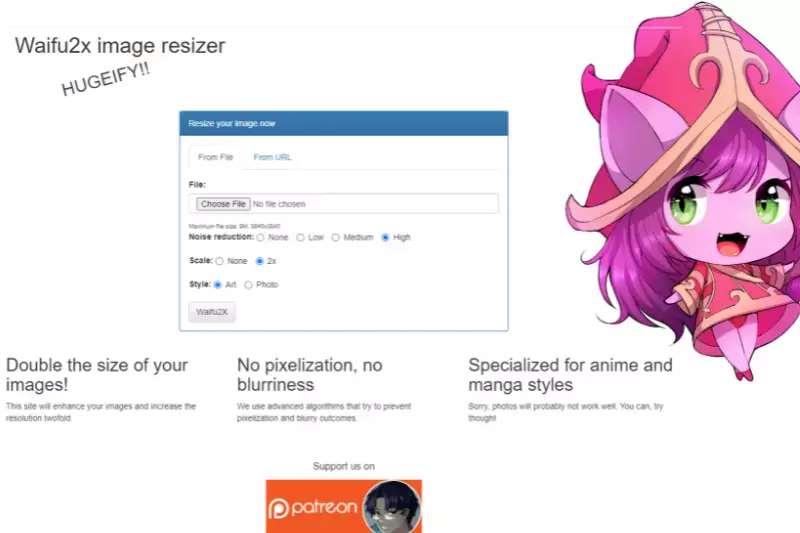
Waifu2x is an excellent tool for upscaling Midjourney images, leveraging AI technology to enhance image resolution while preserving detail and minimizing noise. Originally developed for anime-style artwork, it is equally effective for various types of visuals, making it a versatile choice for improving the quality of your AI-generated images.
Waifu2x’s sophisticated algorithms ensure that even significant enlargements maintain clarity and sharpness, providing impressive results for both digital and print uses. With its easy-to-use interface and effective performance, Waifu2x is a reliable option for transforming your Midjourney creations into high-resolution masterpieces.
Features:
- Advanced AI algorithms for effective image upscaling
- Reduces noise and preserves detail during enlargement
- Ideal for various types of images, including anime and art
- Simple and intuitive interface for ease of use
- Supports multiple image formats, including PNG and JPEG
Imglarger
Imglarger is a powerful tool for upscaling Midjourney images, designed to enhance image resolution and clarity with advanced AI technology. It effectively enlarges your AI-generated visuals while maintaining their original quality and sharpness. With a user-friendly interface, Imglarger simplifies the upscaling process, making it accessible for both professionals and casual users.
This tool supports a variety of image formats and is ideal for transforming Midjourney creations into high-resolution images suitable for digital display or print. Imglarger ensures that your images retain their detail and vibrancy even after significant enlargement.
Features:
- Advanced AI technology for high-resolution upscaling
- Maintains image quality and sharpness during enlargement
- User-friendly interface for easy and efficient use
- Supports multiple image formats, including PNG and JPEG
- Ideal for transforming images for digital and print purposes
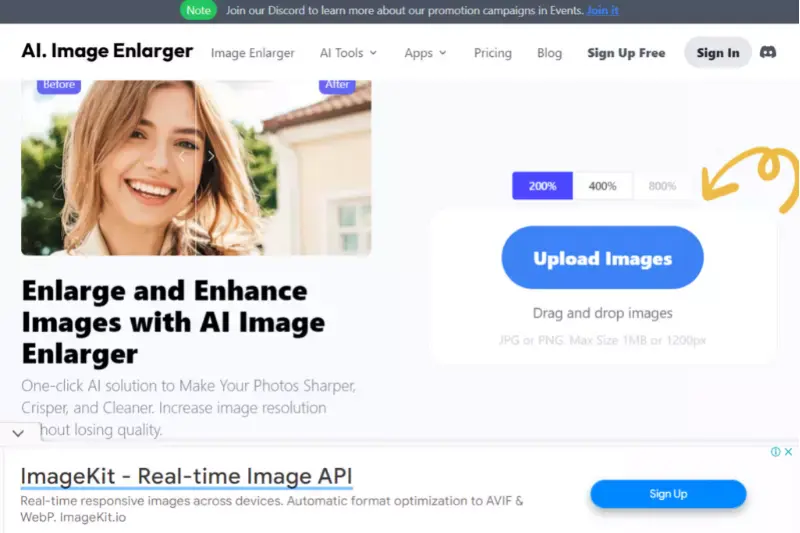
AI Image Enlarger

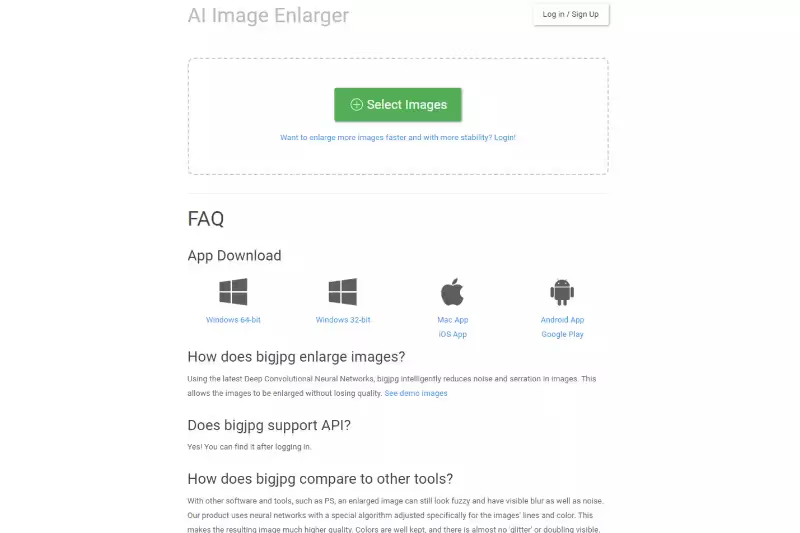
AI Image Enlarger is an excellent choice for upscaling Midjourney images to 4K, utilizing cutting-edge AI technology to enhance image resolution with remarkable precision. This tool is designed to transform your AI-generated visuals into stunning 4K quality, maintaining intricate details and clarity.
The intuitive interface makes it easy to use, allowing for quick and effective upscaling without compromising image integrity. AI Image Enlarger supports various formats and is ideal for both professional and personal projects. Whether you need high-resolution images for digital displays or print, this tool ensures your Midjourney creations look their best.
Features:
- Advanced AI technology for 4K image upscaling
- Preserves intricate details and image clarity
- Intuitive interface for straightforward use
- Compatible with various image formats, including PNG and JPEG
- Ideal for both digital and print applications
Fotor
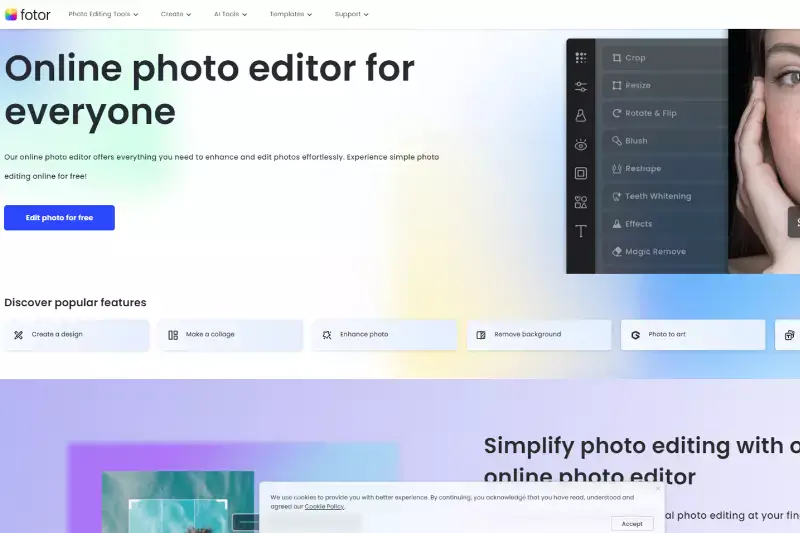
Fotor is a versatile tool for Midjourney upscale, designed to enhance your AI-generated images with advanced image processing technology. It offers an intuitive platform that allows users to easily upscale images while preserving their original quality and details. Fotor’s powerful algorithms effectively increase resolution, making it ideal for producing high-quality visuals suitable for digital and print purposes.
With its user-friendly interface and support for various image formats, Fotor simplifies the process of transforming your Midjourney creations into sharp, high-resolution images. Whether for professional use or personal projects, Fotor ensures your visuals achieve their full potential.
Features:
- Advanced image processing technology for upscaling
- Preserves original quality and fine details
- Intuitive and user-friendly platform
- Supports various image formats, including PNG and JPEG
- Suitable for both digital and print applications
PhotoZoom Pro

PhotoZoom Pro is a top-tier solution for upscaling Midjourney images, offering exceptional image enhancement through advanced algorithms. This tool specializes in enlarging images while preserving high quality and fine details, making it ideal for transforming your AI-generated visuals into crisp, high-resolution outputs.
With its powerful upscaling technology, PhotoZoom Pro delivers precise enlargements without introducing artifacts or blurriness. Its intuitive interface simplifies the upscaling process, catering to both professionals and casual users. Whether for digital presentations or print media, PhotoZoom Pro ensures that your Midjourney images maintain their sharpness and clarity at larger sizes.
Features:
- Advanced algorithms for high-quality image enlargement
- Preserves fine details and minimizes artifacts
- Intuitive interface for easy use
- Ideal for digital and print applications
- Supports a wide range of image formats
Topaz Gigapixel AI
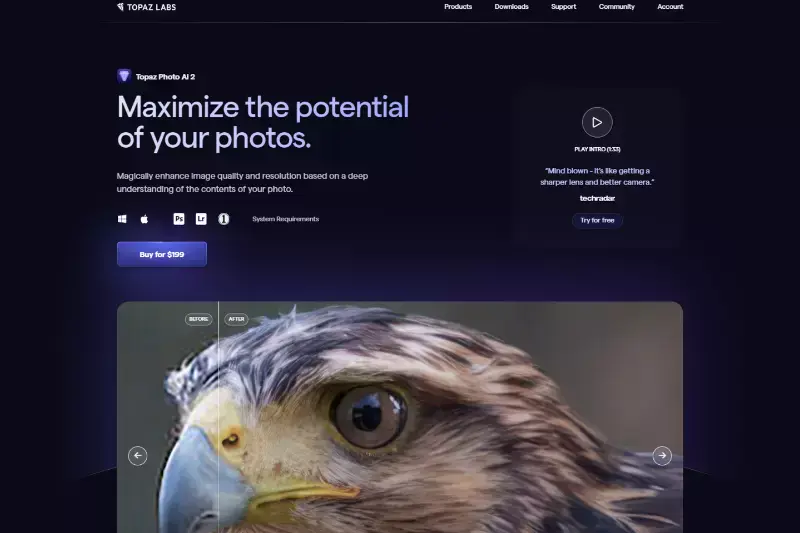
Topaz Gigapixel AI is a premier tool for upscaling Midjourney images, utilizing sophisticated AI technology to enhance image resolution with remarkable accuracy. This powerful software excels in enlarging images while maintaining exceptional detail and clarity, making it perfect for transforming your AI-generated visuals into high-resolution masterpieces.
Topaz Gigapixel AI's advanced algorithms effectively reduce noise and sharpen details, ensuring high-quality results. The user-friendly interface facilitates seamless operation, allowing users to upscale images effortlessly. Whether for professional projects or personal use, Topaz Gigapixel AI ensures your Midjourney images look their best in any size.
Features:
- Advanced AI technology for precise image upscaling
- Maintains exceptional detail and clarity in enlarged images
- Reduces noise and sharpens details effectively
- User-friendly interface for easy operation
- Ideal for both professional and personal image enhancement
Why Choose Upscale.media to Upscale Midjourney Photos?
Choosing Upscale.media to upscale your Midjourney photos comes with several distinct advantages:
- High-Quality Enhancements: Upscale.media uses advanced algorithms to enhance the resolution and clarity of your images, ensuring they retain their quality even when scaled up.
- User-Friendly Interface: The platform is designed to be intuitive and easy to use, allowing you to upscale your photos quickly without any technical hassle.
- Fast Processing: Upscale.media offers rapid processing times so that you can get your enhanced images in just a few minutes.
- Affordable Pricing: With competitive pricing options, Upscale.media provides excellent value for high-quality upscaling services.
- Versatility: The tool supports a wide range of image formats and sizes, making it a flexible choice for various needs.
By choosing Upscale.media, you ensure that your Midjourney photos are upscaled with precision and ease, delivering professional-grade results every time.
Real-Life Applications of Upscaled Midjourney Images
Upscaled Midjourney images have diverse real-life applications, from enhancing marketing materials and print media to improving website design and product packaging. By providing high-resolution visuals, these images elevate professional presentations, ensure crisp details in various formats, and enhance user experiences in digital and physical environments.
- Marketing and Advertising: High-quality, upscaled images are crucial for eye-catching advertisements, social media posts, and promotional materials, helping brands make a strong visual impact and attract attention.
- Print Media: For posters, brochures, and other print materials, upscaled images ensure crisp, clear visuals, maintaining professional standards and enhancing the overall presentation.
- Website and App Design: Upscaled images improve user experience on websites and mobile apps, providing high-resolution visuals that look sharp on different screen sizes and resolutions.
- Art Exhibitions and Portfolios: Artists and designers use upscaled images to showcase their work in galleries, portfolios, and online platforms, ensuring their creations are presented with the highest quality.
- Product Packaging: For product design and packaging, upscaled images help create attractive, detailed graphics that enhance the product's shelf appeal and branding.
- Virtual and Augmented Reality: In VR and AR applications, upscaled images contribute to more immersive and realistic experiences by providing high-definition visuals that enhance the user’s interaction with digital environments.
Optimizing Your Upscaled Midjourney Images
Upscaling Midjourney images can significantly enhance their resolution, but optimizing these upscaled visuals ensures they look their best across various platforms and uses. To achieve optimal results, consider the following strategies:
- Adjust Image Settings: Fine-tune brightness, contrast, and sharpness to enhance visual appeal and ensure consistency with your original design.
- Format Selection: Choose the appropriate file format (JPEG, PNG, TIFF) based on your intended use, as each format has its strengths in preserving quality and details.
- Compression Techniques: Use efficient compression methods to balance quality and file size, ensuring fast loading times without sacrificing image integrity.
- Resolution Check: Verify the final resolution matches your needs, whether for digital displays or print media, to maintain clarity and avoid pixelation.
- Review and Edit: Perform a final review to correct any artifacts or imperfections introduced during upscaling, ensuring a polished and professional appearance.
Conclusion
Upscaling Midjourney images online offers a straightforward way to enhance image quality and detail without the need for complex software. By using specialized online tools, you can achieve impressive results in just a few clicks, ensuring your visuals look crisp and professional.
Whether for personal projects or business needs, these tools provide an efficient solution to elevate your images effortlessly. Embrace the convenience of online upscaling and watch your images transform into high-quality masterpieces.
FAQ's
How do I upscale Midjourney images using Upscale.media?
After generating images with Midjourney, visit Upscale.media and upload your chosen image. Select your desired upscale rate (2X or 4X) for the image. Our tool will then enhance the resolution, ensuring your art is ready for high-quality prints or digital displays without losing detail.
Is it free to upscale images on Upscale.media?
Yes, upscaling single images on Upscale.media is currently free. You can easily upscale Midjourney images to 2X or 4X at no cost. Consider exploring our Premium service for users looking to upscale multiple images or access advanced features.
Can I upscale Midjourney images to a custom size?
Upscale.media primarily offers 2X and 4X upscaling options. Suppose you're looking for a specific resolution or size. In that case, these options are designed to significantly enhance the quality and dimensions of your images, making them suitable for various purposes, from digital use to large prints.
What file formats does Upscale.media support for upscaling?
Upscale.media supports popular image formats, including JPG, JPEG, PNG, and BMP. This ensures compatibility with the wide range of outputs from Midjourney and other digital art tools, allowing for easy and versatile upscaling solutions.
How does upscaling affect the DPI of my image?
You are upscaling with Upscale.media improves the resolution of your image, which can help achieve a higher DPI (dots per inch) for printing purposes. While upscaling enhances the pixel dimensions, ensuring a more unmistakable print, it's essential to match the upscaled image’s resolution with your printer's DPI capability for the best results.
What should I do if I need to upscale a large batch of images?
For those needing to upscale multiple images at once, Upscale.media offers a Premium service tailored for bulk transformations. This service is ideal for professionals and users with high-volume upscaling needs, providing a time-efficient solution without compromising quality.
.avif)

.avif)