All About GIMP Image Scalers


Do your images need to be more sharp and detailed? Discover how you can breathe new life into your visuals with GIMP, a powerful tool for image editing and enhancement. Whether you’re a hobbyist or a professional, learning to GIMP upscale images effectively can transform your photos from mundane to magnificent.
In the world of digital imagery, upscaling an image with GIMP can be a game-changer. This free, open-source software offers robust features that make it easier to enhance image quality without compromising clarity. Imagine taking a low-resolution photo and turning it into a high-definition masterpiece GIMP makes this possible with its advanced algorithms and user-friendly interface.
Join us as we explore how to upscale image in GIMP to achieve professional results. From understanding the basics of image upscaling to mastering advanced techniques, this guide will equip you with everything you need to elevate your photo editing skills. Dive in and discover how GIMP can be your go-to solution for all your image enhancement needs!
What is GIMP?
GIMP, or GNU Image Manipulation Program, is a versatile and powerful open-source image editing software. It offers a wide range of tools for tasks such as photo retouching, image composition, and graphic design. GIMP provides features comparable to commercial software like Adobe Photoshop, including advanced editing capabilities, layer management, and various filters and effects.
One of GIMP's standout features is its customisation options; users can extend its functionality through plugins and scripts, making it adaptable to various creative needs. With its intuitive interface and robust tools, GIMP caters to both beginners and professional graphic designers. As a free software, it democratises access to high-quality image editing, making it an essential tool for anyone looking to enhance and manipulate images without incurring high costs.
Why Upscale Images in GIMP?
Upscaling images in GIMP can transform your visuals from ordinary to exceptional. This powerful, open-source software offers advanced tools that help you enlarge images without losing quality. Whether you need to enhance a photo for printing or digital use, GIMP’s sophisticated algorithms ensure your images remain sharp and detailed.
With its customisable options and free availability, GIMP is an invaluable resource for anyone looking to improve image clarity and resolution. Discover how to use GIMP to upscale your images effectively and make the most out of your visual content.
- Enhanced Image Quality: Upscaling allows you to increase the size of your images while maintaining clarity. GIMP’s sophisticated algorithms help in minimising distortion and preserving detail, making your images look crisp and professional even at larger sizes.
- Versatility and Control: GIMP provides a range of interpolation methods (like Cubic or Sinc) that help fine-tune the quality of upscaled images. This gives you more control over the final result compared to many basic tools or automatic upscaling features.
- Customisable and Free: As open-source software, GIMP is free to use, making high-quality image enhancement accessible to everyone. Additionally, it supports numerous plugins and extensions that can further enhance upscaling results.
- No Quality Loss: Proper upscaling in GIMP can help in reducing common issues like blurriness or pixelation, ensuring that your images remain sharp and detailed after enlargement.
By leveraging GIMP’s upscaling capabilities, you can ensure that your images look their best across various sizes and applications.
How to Upscale Images in GIMP?
Looking to enhance your photos with precision and clarity? GIMP image upscale is your go-to solution for transforming your images into high-resolution masterpieces. Using GIMP to upscale images is a powerful way to increase the size and quality of your photos, making them perfect for various applications.
Whether you're working with JPEGs, PNGs, or other formats, GIMP's advanced tools ensure your images maintain their sharpness and detail. In this guide, we'll walk you through the process of upscaling images in GIMP, offering step-by-step instructions to help you achieve professional-quality results effortlessly. Enhance your visuals and bring your photos to life with GIMP’s exceptional upscaling capabilities.
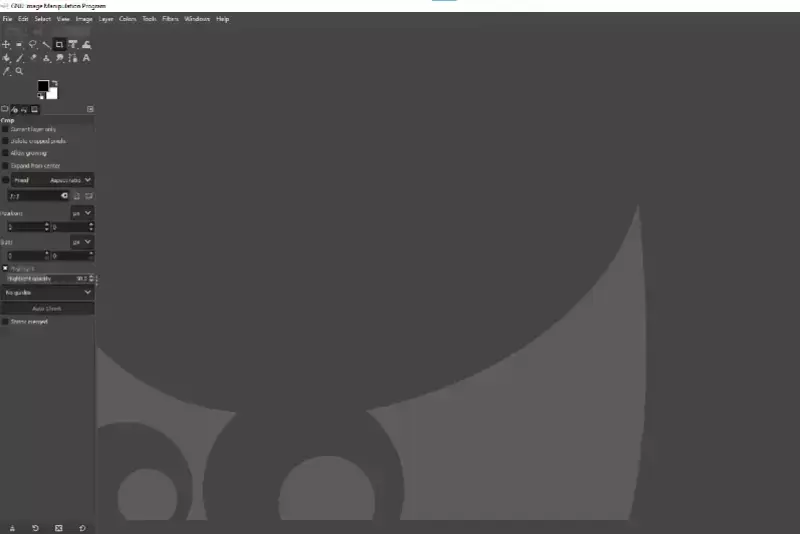
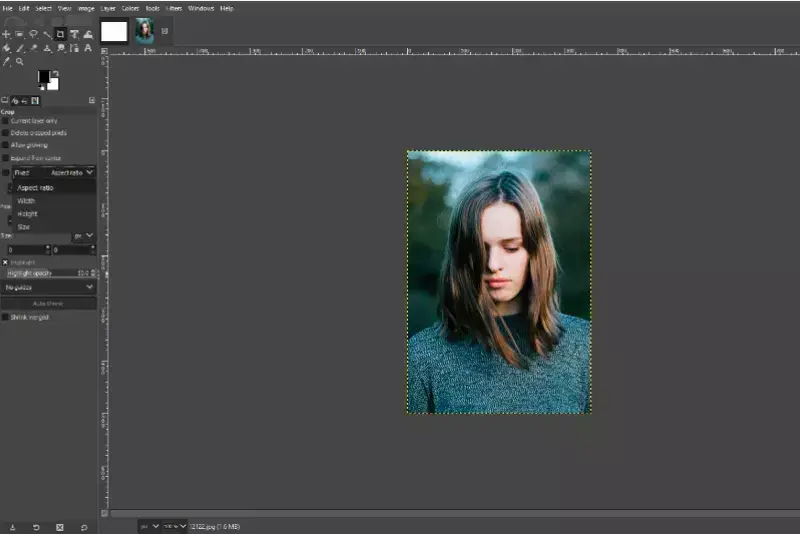
Step 1 - Start by opening the image in GIMP.
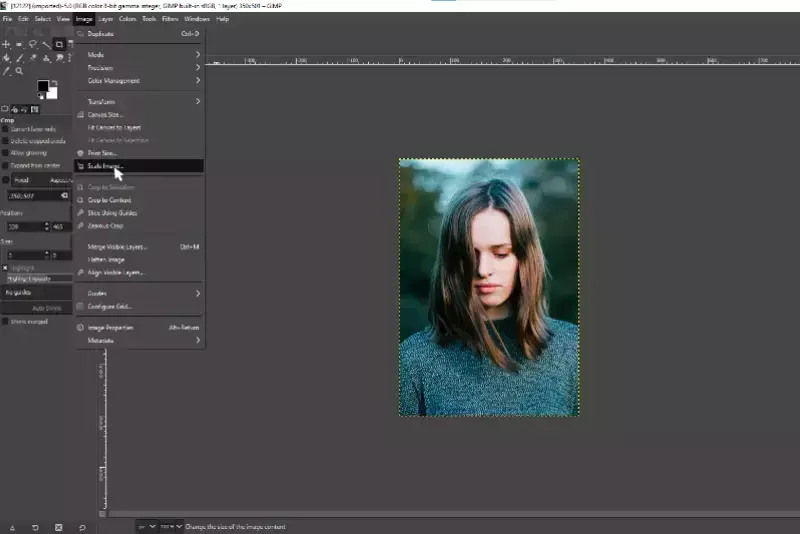
Step 2 - Go to Image > Scale Image. A new window will pop up.
Step 3 - In the Width and Height fields, enter the new dimensions you want for your image. Check the "Keep aspect ratio" option, so your image doesn't become distorted. Always keep accordingly.
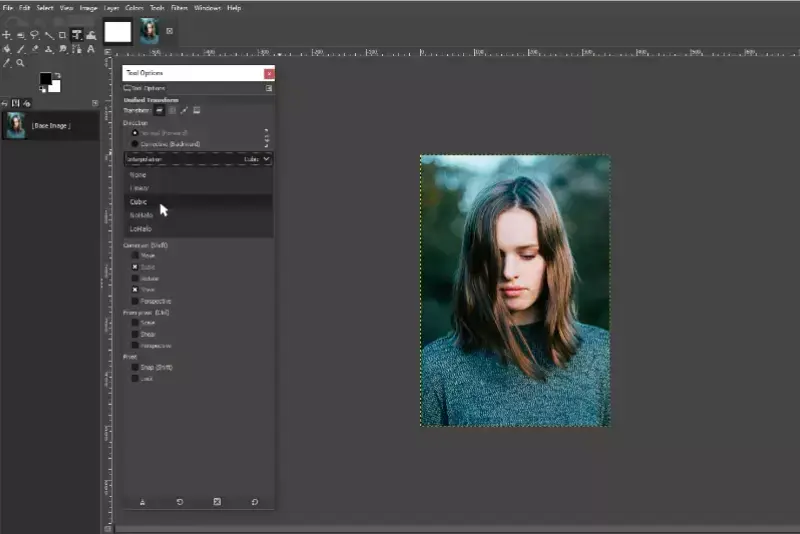
Step 4 - Click on the interpolation methods and choose the right accordingly from the option given, such as None, Linear, Cubic, or Sinc.
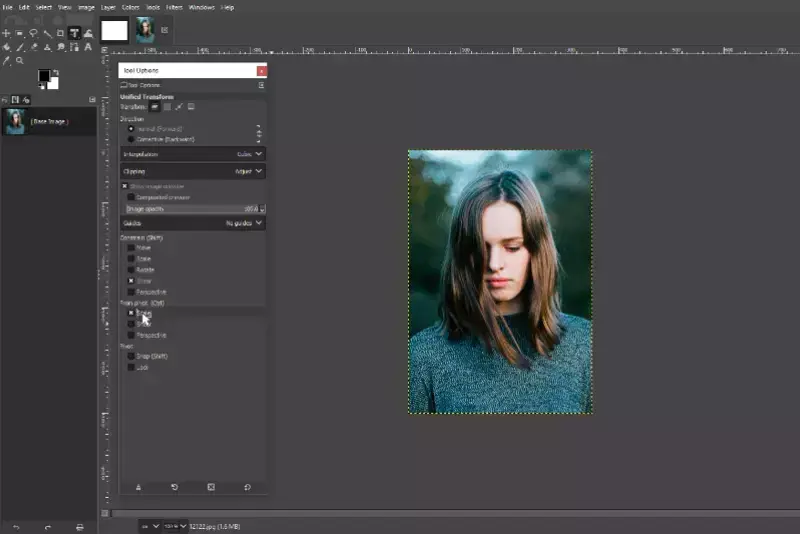
Step 5 - Click "Scale" to resize your image.
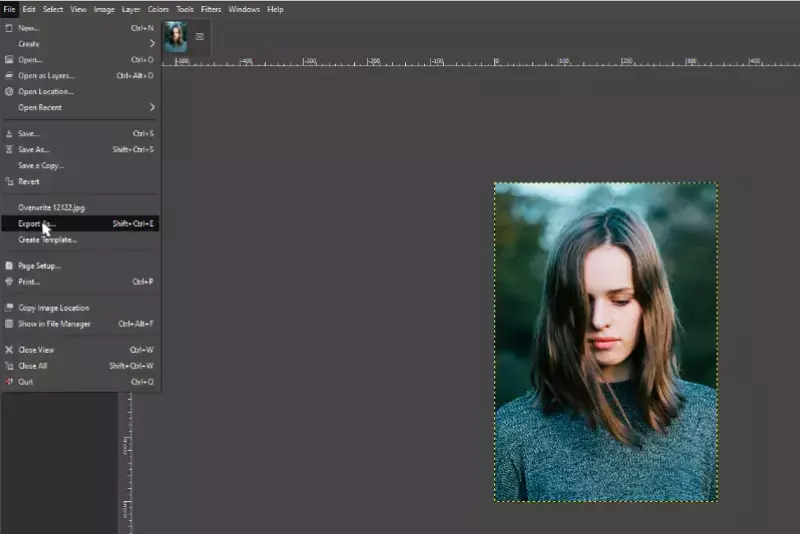
Step 6 - Save your changes by going to File > Export As…. Choose a file name and format, then click "Export" again.
Comparing GIMP With Other Image Upscalers
When choosing an image upscaling tool, it's essential to weigh the strengths of each option. GIMP, a robust and free image editor, offers versatile upscaling capabilities with various interpolation methods. Compared to commercial software like Adobe Photoshop, which provides advanced AI-driven features, GIMP offers powerful, customisable options at no cost.
Online upscaling tools deliver quick results with user-friendly interfaces, but they lack the deep control GIMP provides. Specialised software like Topaz Gigapixel AI excels in detail enhancement but comes with a higher price. Understanding these differences helps you select the best tool for your image enhancement needs.
GIMP vs. Adobe Photoshop
- Features: Both GIMP and Adobe Photoshop are powerful tools with extensive editing features. Photoshop is known for its comprehensive suite of professional tools and integrations, while GIMP, being open-source, offers a customisable experience with plugins.
- Upscaling Techniques: Photoshop’s "Preserve Details 2.0" upscale feature utilises machine learning to enhance images, offering high-quality results. GIMP’s upscaling relies on algorithms like cubic and Sinc (Lanczos3), which are effective but might not match Photoshop's advanced AI-driven algorithms.
- Cost: Photoshop requires a subscription, which can be costly, whereas GIMP is completely free, making it a more budget-friendly option.
GIMP vs. Online Upscaling Tools
- Ease of Use: Online upscaling tools like Let’s Enhance and Waifu2x offer user-friendly interfaces and automatic enhancement, ideal for quick tasks. GIMP, while powerful, requires more manual input and learning.
- Quality: Online tools often leverage AI to upscale images, providing impressive results with minimal effort. GIMP, although effective, may require additional manual adjustments to achieve similar quality.
- Customisation: GIMP offers more control over the upscaling process with various interpolation methods and the ability to fine-tune settings. Online tools typically offer less customisation but are often more straightforward for users seeking quick results.
GIMP vs. Specialized Software (e.g., Topaz Gigapixel AI)
- Advanced Algorithms: Topaz Gigapixel AI uses deep learning to upscale images with exceptional detail and clarity. This specialised software can outperform GIMP in terms of quality, especially for dramatic enlargements.
- Features and Flexibility: While GIMP provides a wide range of general image editing features, specialised software like Topaz Gigapixel AI focuses specifically on upscaling and may offer superior results in that domain.
- Cost and Accessibility: Specialized software often comes with a significant price tag, whereas GIMP remains a free, open-source alternative. For those on a budget or needing a multipurpose tool, GIMP is an attractive option.
How to Use Upscale.media For Upscaling Your Images?
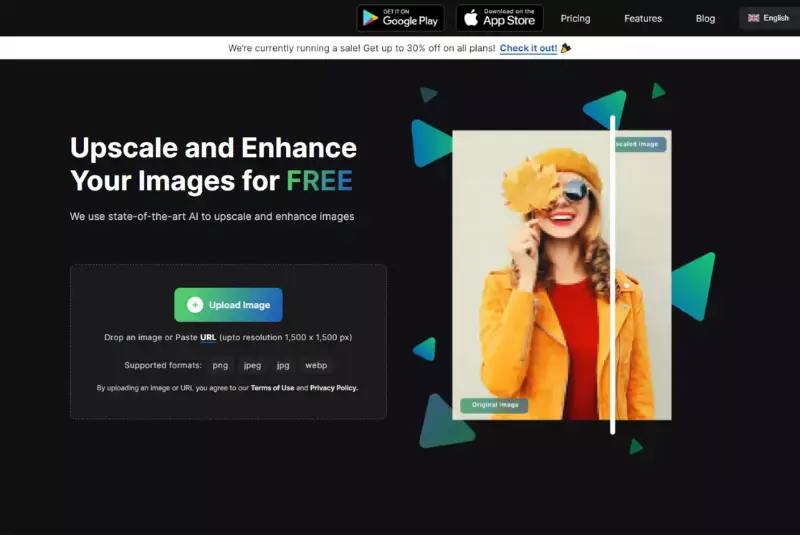
Looking to enhance your images with ease? Upscale.media is your ideal tool for upscaling photos, offering a seamless way to improve image quality. With Upscale.media, you can effortlessly upscale images from various file formats, including PNG, JPEG, and HEIC. This user-friendly platform leverages advanced AI technology to increase resolution while preserving detail and clarity.
Whether you're aiming to boost a low-resolution photo or prepare visuals for high-definition displays, Upscale.media provides a straightforward solution for achieving stunning results. Explore how to use Upscale.media to transform your images and enhance their quality with just a few clicks.
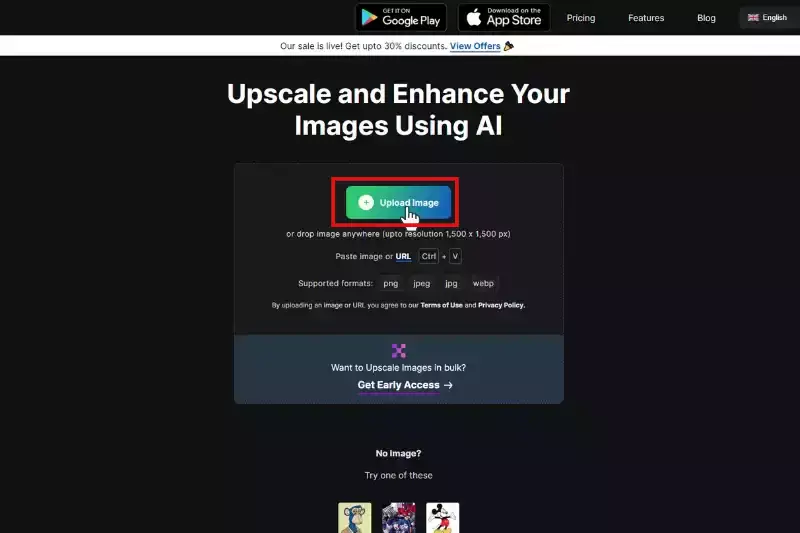
Step 1 - Go to www.upscale.media in your web browser and click the "Upload Image" button.
Step 2 - Select the image file from your computer or paste the URL you want to upscale or enhance.
Step 3 - Choose your desired output size that should be upto resolution 1,500 x 1,500 px.
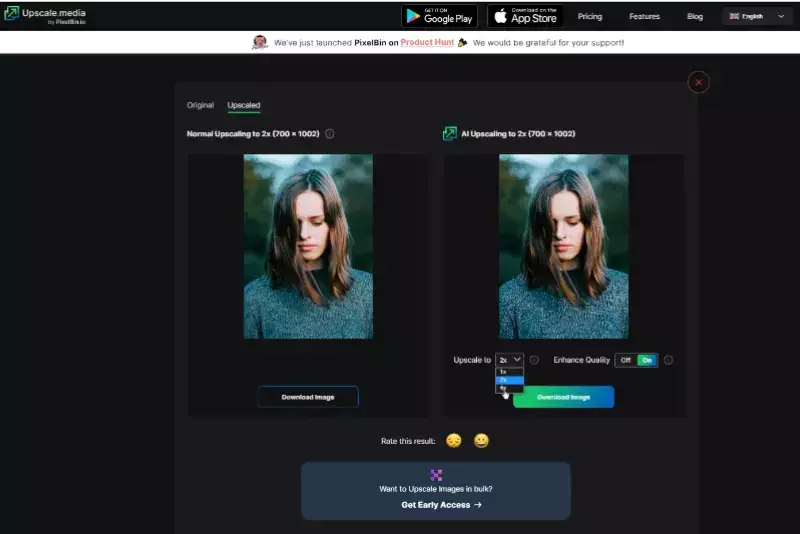
Step 4 - Select the desired output format for your images, such as png, jpeg, jpg, or webp.
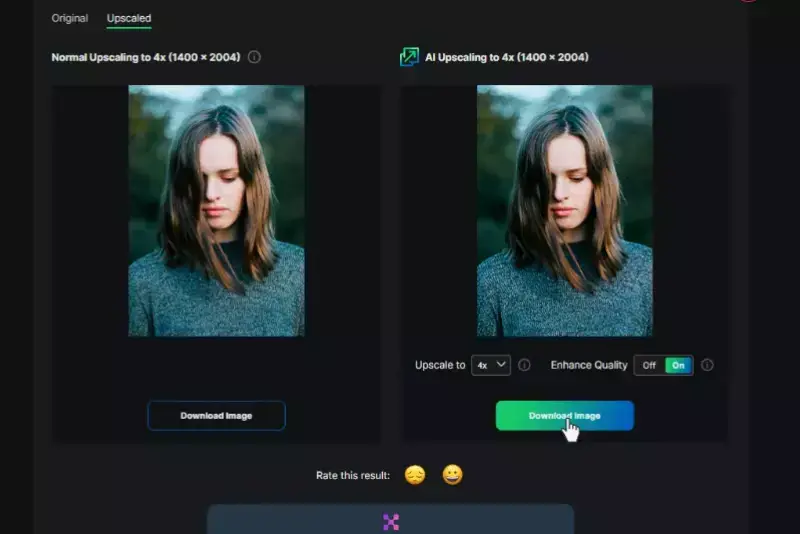
Step 5 - Make adjustments to the image, such as Upscaling to enhance quality options.
Step 6 - Wait for the process to complete – it may take a few minutes, depending on the size of your image – and then download the results.
Benefits of Using Upscale.media
Upscale.media offers an exceptional way to enhance your images effortlessly. With its advanced AI technology, Upscale.media transforms low-resolution photos into high-definition masterpieces, maintaining clarity and detail. The platform is designed to be user-friendly, allowing anyone to upscale images easily without technical expertise.
Supporting a range of file formats such as PNG, JPEG, and HEIC, Upscale.media caters to diverse needs. Whether you’re working with a single photo or multiple images, its bulk processing capabilities and free access make it an ideal choice for achieving professional-quality results quickly and efficiently.
- High-Quality Enhancements: Leveraging advanced AI technology, Upscale.media enhances images with exceptional detail and clarity. This ensures that even low-resolution photos are transformed into high-definition visuals, making them suitable for various applications.
- User-Friendly Interface: The platform is designed with ease of use in mind. With its intuitive interface, you can quickly upload and upscale images without needing technical expertise, making it accessible for both beginners and professionals.
- Free and Accessible: Upscale.media provides a free option for image upscaling, allowing users to enhance their photos without incurring costs. This makes it an attractive choice for those on a budget or looking for a cost-effective solution.
- Supports Multiple Formats: Whether your images are in PNG, JPEG, JPG, WEBP, or HEIC formats, Upscale.media supports a wide range of file types, ensuring compatibility with your existing image library.
- Bulk Processing Capabilities: For those needing to upscale multiple images at once, Upscale.media offers bulk transformation features. This allows for efficient processing of numerous files in a single go, saving time and effort.
- Seamless Integration: The platform also supports API integration, making it easy to incorporate Upscale.media into existing workflows or applications, further enhancing productivity.
- Enhanced Productivity: With its streamlined process and efficient tools, Upscale. Media helps you achieve high-quality image enhancements quickly, allowing you to focus on other creative or business tasks.
Using Upscale.media provides a straightforward and effective way to improve your images, making it a valuable tool for both personal and professional use.
Conclusion
GIMP image scalers provide a powerful, flexible solution for enhancing image resolution. While offering robust features and customisation at no cost, it competes well against commercial and online tools. Whether you need detailed control or quick enhancements, GIMP remains a valuable asset for any image editing task.
FAQ's
Is there a scale tool in GIMP?
Yes, there is a scale tool in GIMP. The scale tool allows you to resize images, making them smaller or larger. You can access the scale tool by selecting the scale icon from the toolbox and then dragging and adjusting the selection box on the canvas to complete the scaling process.
How do I scale an image with 300 DPI in GIMP?
To scale an image to 300 DPI in GIMP, follow these steps:
Open your image in GIMP.
Go to "Image" in the top menu and select "Print Size."
Enter "300" next to X Resolution (pixels/inch) in the Print Size dialogue box.
GIMP will automatically adjust the image size to match the desired 300 DPI resolution.
What is a scale image in GIMP?
In GIMP, "scale image" refers to resizing an image, either making it larger or smaller, while maintaining its original aspect ratio or changing it proportionally. This function allows users to adjust the image's dimensions to fit specific requirements without distorting its content.
How do I scale image quality?
To scale image quality, you can utilize Upscale.media, an online tool that enhances image resolution and overall quality using advanced algorithms. Upload your image, choose the desired scaling options, and let the tool process and improve the image while remembering that it cannot create details beyond what's present in the original image.
What is scale in image size?
Scaling in image size refers to resizing an image, either larger or smaller. When you scale an image, you adjust its dimensions, affecting its overall appearance and file size. Scaling an image larger may result in losing quality while scaling it smaller can reduce details.
How do I change from 72 DPI to 300 DPI in GIMP?
In GIMP, changing the DPI (dots per inch) from 72 to 300 can be done by following these steps:
Open your image in GIMP, then go to the "Image" menu and select "Print Size." In the "Print Size" dialogue box, change the resolution to 300 pixels/inch (DPI) and adjust the image's physical dimensions if needed. Click "OK" to apply the changes, and then you can save the image with the new DPI setting. Remember that changing the DPI won't add more detail to the image; it will only affect how it is printed or displayed at a different size on the screen.
.avif)